After a successful day on the water, proper fish cleaning and processing is the crucial final step that transforms your catch into delicious meals. This comprehensive guide will walk you through everything you need to know about cleaning fish efficiently and safely.
Essential Tools for Fish Cleaning
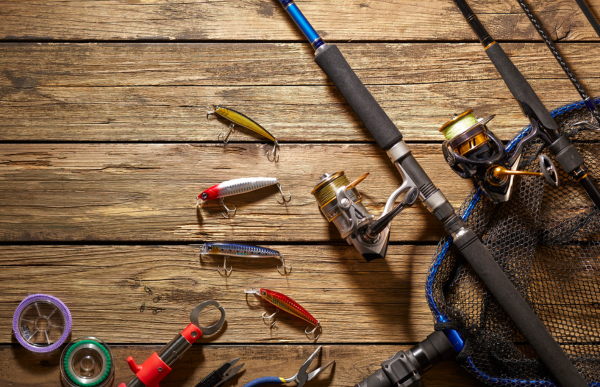
Before you begin, gather these essential tools:
- Sharp fillet knife – The cornerstone of fish cleaning. A flexible, thin blade between 6-9 inches works best for most fish species.
- Cutting board – Use a dedicated plastic or composite board for fish that can be thoroughly sanitized.
- Disposable gloves – Nitrile gloves protect your hands from slime, scales, and sharp fins while preventing your scent from transferring to the fish.
- Scaling tool – A dedicated fish scaler or the back of a knife works to remove scales efficiently.
- Fish cleaning table – Ideally with a drain or catch basin for easy cleanup.
- Pliers – For removing hooks and handling small bones.
- Kitchen shears – Perfect for trimming fins and making precise cuts.
- Waste container – Designated for fish remains.
- Sharp kitchen knife – For secondary cuts and precision work.
- Bucket of clean water – For rinsing fillets.
- Paper towels or clean cloths – For patting fish dry.
- Zip-top bags or vacuum sealer – For storing processed fish.
- Cooler with ice – To keep fish fresh during the cleaning process.
Step-by-Step Fish Cleaning Process
1. Preparation
Start by donning your disposable gloves and setting up your cleaning station. Keep your fish on ice until you’re ready to clean them. Ensure your knife is sharp—a dull knife is dangerous and makes clean cuts impossible.
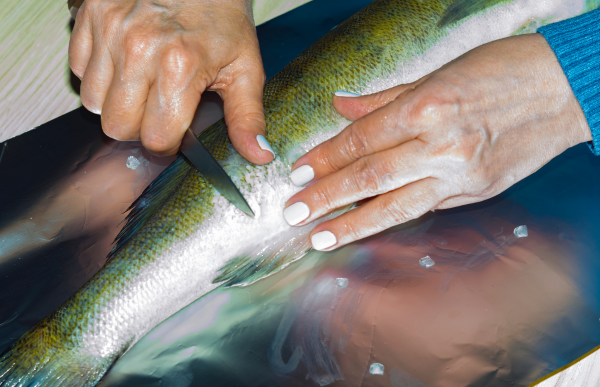
2. Scaling (If Keeping the Skin)
Hold the fish firmly by the tail and scrape the scaling tool against the grain of the scales, working from tail to head. Rinse frequently to remove loose scales. Take extra care around the belly and fins where scales can be more stubborn.
3. Gutting
Insert your knife at the vent (anal opening) and cut toward the head along the belly. Be careful not to cut too deep and puncture the intestines. Open the belly cavity and remove all entrails, using your fingers to scrape clean the blood line along the backbone.
4. Removing the Head (Optional)
Cut behind the gills and pectoral fins at a slight angle toward the head. This preserves more meat for your fillets.
5. Filleting
For most fish, start your cut behind the gills and pectoral fin. With your knife blade flat against the backbone, cut toward the tail following the backbone. Use smooth, even strokes rather than sawing motions.
Flip the fish over and repeat on the other side. For larger fish, you may need to remove the fillets in sections.
6. Removing the Skin (Optional)
Place your fillet skin-side down on the cutting board. Insert your knife between the meat and skin at the tail end. Holding the skin firmly, angle your knife slightly downward and use a smooth sawing motion to separate the fillet from the skin.
7. Removing Pin Bones
Run your fingertips over the fillet to locate pin bones. Use fish pliers to pull them out at the same angle they’re pointing to avoid tearing the meat.
8. Rinsing and Final Preparation
Rinse your fillets in cold clean water to remove any scales, blood, or bone fragments. Pat them dry with paper towels.
9. Storage
If not cooking immediately, place fillets in zip-top bags or vacuum seal them, removing as much air as possible. Label with the fish species and date, then refrigerate (if using within 1-2 days) or freeze.
Tips for Different Fish Species
- Panfish (Bluegill, Crappie): Small but delicious! Scale and gut them, then cook whole, or fillet if preferred.
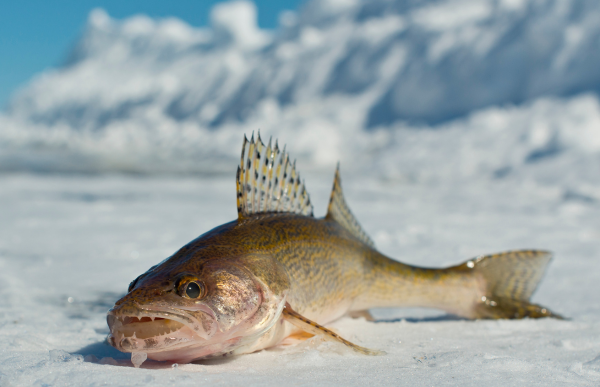
- Bass and Walleye: Perfect candidates for filleting. Their firm flesh makes them relatively easy to work with.
- Salmon and Trout: Can be filleted or cleaned and cooked whole. Consider leaving the skin on for grilling.
- Flounder and other Flatfish: Require a slightly different filleting technique due to their unique anatomy. You’ll get four fillets instead of two.
Proper Disposal of Fish Waste

Always check local regulations for proper disposal of fish waste. In some areas, returning remains to deep water is acceptable, while others require bagging and disposing with regular trash.
Conclusion
Mastering fish cleaning takes practice, but with the right tools and techniques, you’ll soon be processing your catch efficiently and with minimal waste. Remember, a well-cleaned fish is the first step to a memorable meal!
Note to readers: Investing in quality tools makes all the difference in fish processing. While you can get by with minimal equipment, having the right tools—especially a proper fillet knife and board—will make the job faster, safer, and more enjoyable. Consider purchasing a dedicated fish cleaning kit if you fish regularly.